
Removing a screen protector might seem daunting, but it’s a straightforward process that anyone can master. Whether it’s cracked, scratched, or simply outdated, knowing how to safely take off a screen protector is essential for maintaining the integrity of your device.
With the right techniques and tools, he or she can ensure a hassle-free removal without damaging the screen underneath. This guide will walk through the steps needed to effectively remove a screen protector, highlighting tips to avoid common pitfalls along the way. Let’s dive in and make this task as simple as possible.
Table of Contents
ToggleImportance of Removing a Screen Protector
Removing a screen protector plays a crucial role in maintaining a device’s functionality and appearance. Users may find it necessary to replace a damaged, scratched, or outdated protector to ensure optimal screen clarity. A clear screen enhances the device’s response time, providing a better overall user experience.
Replacing a screen protector prevents the accumulation of dust and debris. Over time, dirt can become trapped between the protector and the screen, potentially causing scratches or damaging sensitive components. Regular removal allows for proper cleaning of both the screen and the protector.
Removing a screen protector also ensures compatibility with new accessories. Some cases or mounts may not function effectively with a thick or damaged protector in place. Ensuring a clean and smooth screen surface enhances the compatibility of modern accessories, such as styluses or camera attachments, that require direct contact with the screen.
Safely removing a screen protector reduces the risk of further damage. A torn or cracked protector can lead to glass shards or adhesive residue, compromising device integrity. Following a proper removal process minimizes these risks and ensures a fresh application of a new protector if desired.
Tools Required for Removal
Removing a screen protector requires specific tools to ensure the process is safe and efficient. Using the right tools minimizes the risk of damaging the device’s screen.
Recommended Tools
- Plastic Card: Use a flexible plastic card, such as a credit or gift card, to lift the edges of the protector without scratching the screen.
- Precision Tweezers: Employ precision tweezers to grip and pull the protector away gently, especially for glass protectors.
- Adhesive Remover: Apply a small amount of adhesive remover to dissolve any leftover residue without harming the device surface.
- Microfiber Cloth: Utilize a microfiber cloth to clean the screen after removing the protector, ensuring no dust particles remain.
Alternative Household Items
- Dental Floss: Use unwaxed dental floss as a thin, strong tool to slide between the protector and the screen, effectively loosening adhesive.
- Scotch Tape: Apply a piece of scotch tape to the edge of the protector to help lift it by adhering to the surface.
- Ruler: Leverage a ruler to pry up the edges gently, maximizing surface area contact to avoid damage.
- Hair Dryer: Heat the screen protector slightly with a hair dryer on a low setting to soften the adhesive, making it easier to remove.
Step-by-Step Guide on How to Take Off Screen Protector
Removing a screen protector doesn’t require advanced skills. Following these steps ensures a smooth and safe removal process.
Preparing Your Device
- Turn Off the Device: Turning off the device prevents accidental inputs and ensures safety during the process.
- Gather Necessary Tools: Collect the recommended tools, such as a flexible plastic card, precision tweezers, adhesive remover, and a microfiber cloth. Alternative household items like unwaxed dental floss or scotch tape also work well.
- Choose a Clean, Well-Lit Area: Selecting a clean workspace reduces the chance of dirt or dust interfering with screen visibility during the removal process.
Carefully Removing the Protector
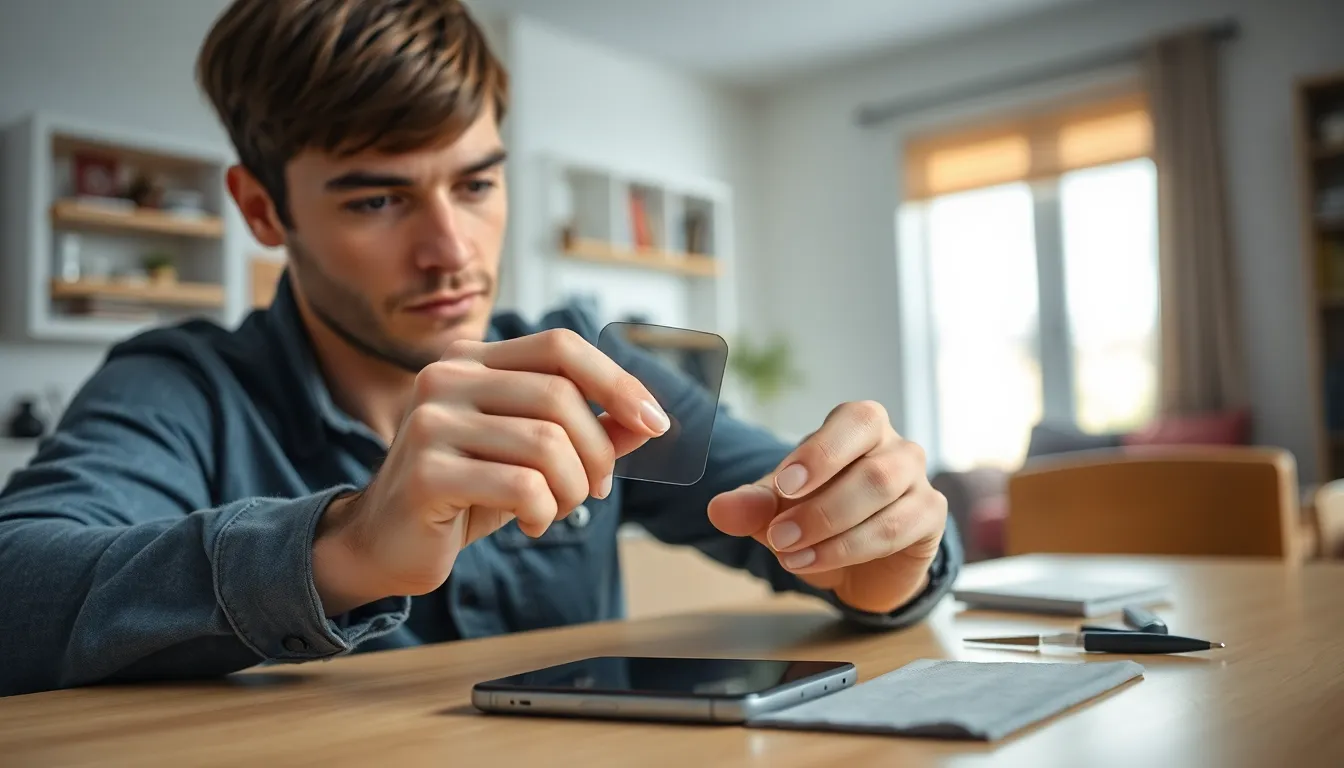
- Insert the Plastic Card: Gently slide the plastic card into the edge of the screen protector, lifting it slightly away from the screen.
- Use Precision Tweezers if Needed: For stubborn corners, precision tweezers can provide the necessary grip. Pull the protector slowly to avoid damage.
- Work From One Edge to Another: Gradually lift the protector from one edge to the opposite, keeping it at a low angle. This minimizes the risk of cracking the protector or damaging the underlying screen.
- Apply Adhesive Remover for Stuck Areas: If the screen protector remains stuck, use adhesive remover to dissolve the residue. Follow manufacturer instructions for application.
Cleaning the Screen After Removal
- Wipe with a Microfiber Cloth: Use a microfiber cloth to remove dust and fingerprints. This step ensures the screen is clean and ready for a new protector or naked use.
- Inspect the Screen for Residue: Check for any adhesive residue left on the screen. If present, apply adhesive remover with the microfiber cloth for complete removal.
- Final Check for Damage: Examine the screen closely for any cracks or scratches before applying a new protector. Address any issues before proceeding to ensure optimal screen functionality.
Common Challenges and Solutions
Removing a screen protector can present challenges, but with the right techniques, users can overcome them effectively. Addressing these common issues helps ensure a smooth removal process.
Dealing with Stubborn Screen Protectors
Stubborn screen protectors may adhere tightly, causing frustration during removal. To tackle this challenge:
- Apply Heat: Use a hair dryer on a low setting to gently warm the edges of the protector. This softens the adhesive, making it easier to lift.
- Use a Plastic Card: Gradually slide a flexible plastic card under the protector’s edge. This method should dislodge the adhesive without applying excessive force.
- Utilize Dental Floss: For extra stubborn protectors, unwaxed dental floss can work effectively. Slide the floss beneath the protector and gently saw back and forth to break the adhesive bond.
Avoiding Damage to the Screen
Preventing damage during the removal process is critical for maintaining the device’s screen. To avoid damaging the surface:
- Work Slowly: Take time during the removal. Rushing increases the risk of applying excessive force, which can damage the screen.
- Inspect for Residue: After removal, check for adhesive residue. If present, use an adhesive remover sparingly with a microfiber cloth, ensuring not to scrub too hard.
- Keep Tools Safe: Use only recommended tools like plastic cards and tweezers. Avoid metal objects that could scratch or damage the screen.
Using these strategies helps users manage challenges and protects the device during the removal of the screen protector.
Removing a screen protector doesn’t have to be a daunting task. With the right tools and techniques anyone can achieve a safe and effective removal. This process not only enhances the device’s appearance but also its functionality.
By regularly replacing or removing an outdated protector users can prevent potential damage and ensure compatibility with new accessories. Following the outlined steps helps avoid common pitfalls and ensures a smooth surface for a new protector if desired. Keeping the device in top condition is essential for a better user experience.